电脑预装win8 重装win8系统教程
- 时间:2016年10月22日 18:00:23 来源:魔法猪系统重装大师官网 人气:6336


windows8系统遇到问题,很多解决的时候,我们都会选择预装win8 重装win8来解决这个难题,一般来说当电脑重装之后电脑里面的垃圾和病毒会被彻底清理,从而速度上会有很大的提升。所以就让小编分享一个电脑预装win8 重装win8系统教程给大家,让大家轻松学会。
重装win8系统教程:
打开Windows 8的控制面板,找到“Windows 7文件恢复”选项;
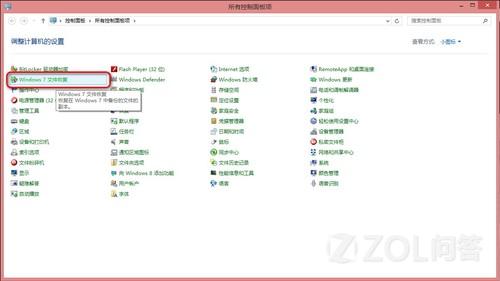
双击进入后,出现如下界面:
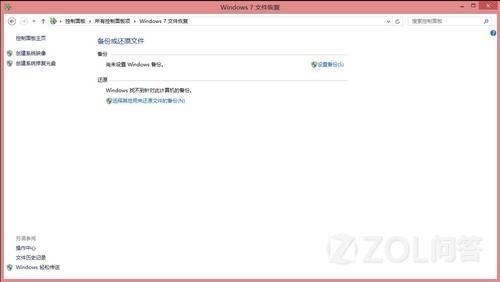
选择“创建系统映像”;
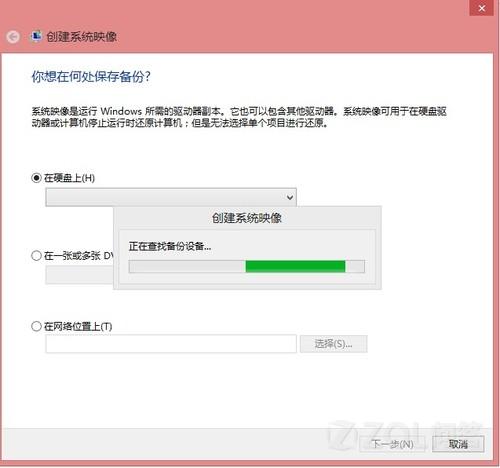
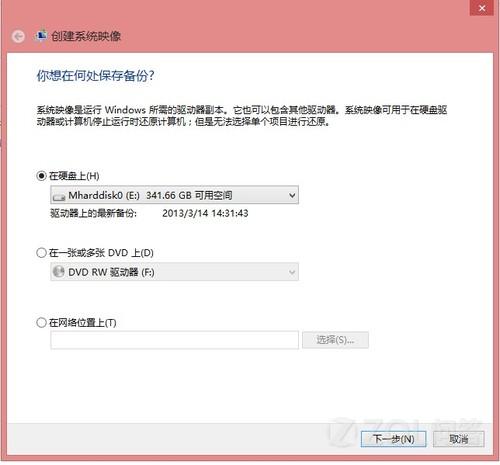
此时可以选择将Win8的系统镜像备份在移动硬盘、在一张或多张DVD上或在网络上。
根据系统的大小,若备份在光盘上需要多张光盘。
我们以备份在移动硬盘上为例,
备份介质后,将会出现选择需要备份的分区;
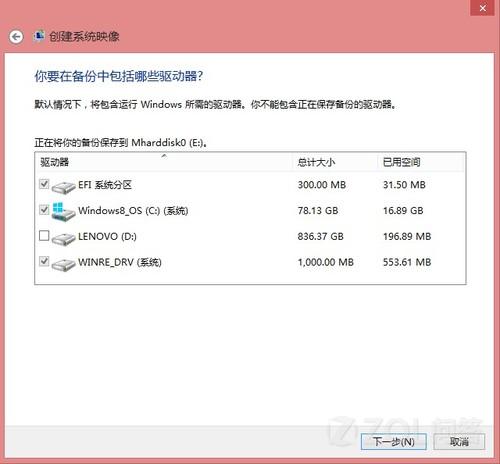
选择好需要备份的分区后,点击下一步;
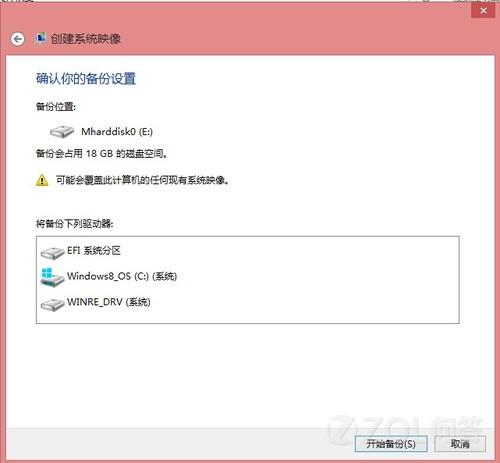
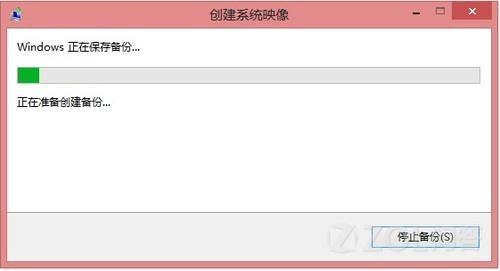
点击开始备份后进行备份;
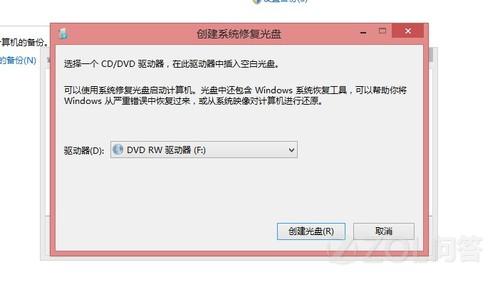
备份完成后,会出现“是否创建系统修复光盘”提示。
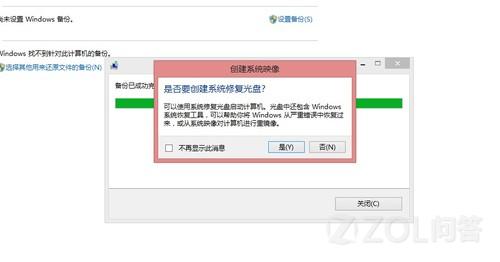
选择"是",创建系统修复光盘;
完成后,自行创建Windows 8 系统备份镜像成功。
如何恢复:
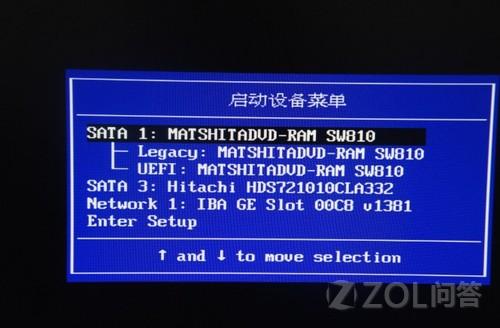
开机F12选择光驱引导,将系统修复光盘放入;
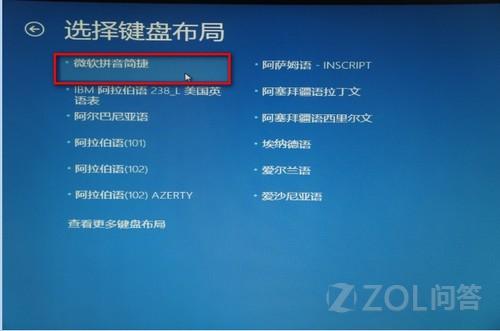
选择中文;

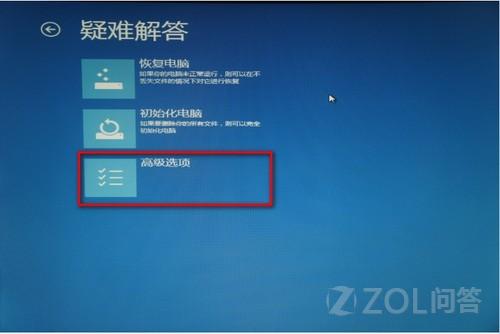
选择疑难解答;

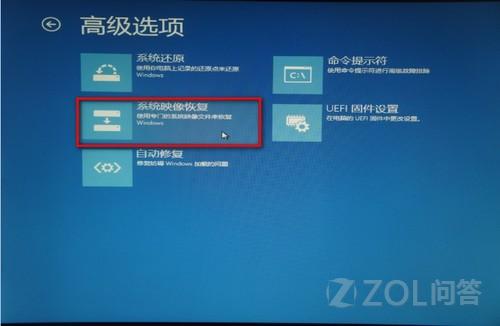
点击高级选项;
选择高级选项中的“系统映像恢复”;
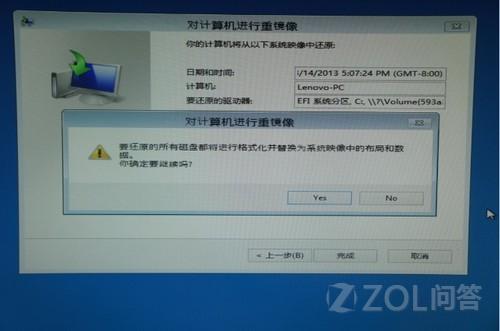
选择移动硬盘中的备份,点击下一步;
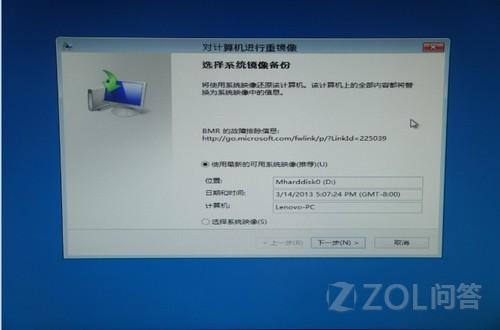
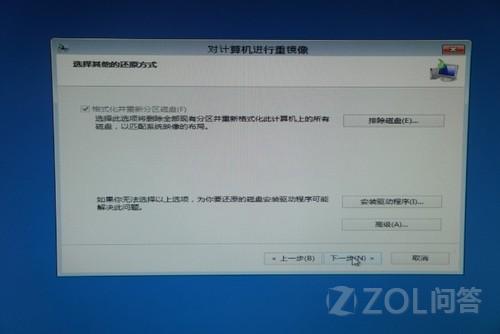
恢复前一定要备份硬盘上的数据。
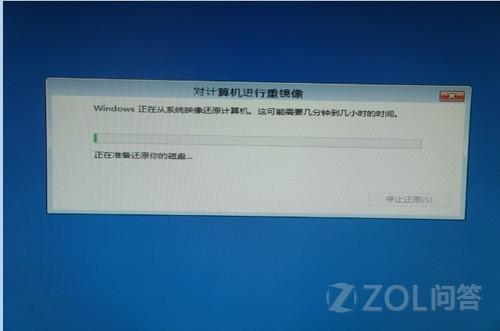
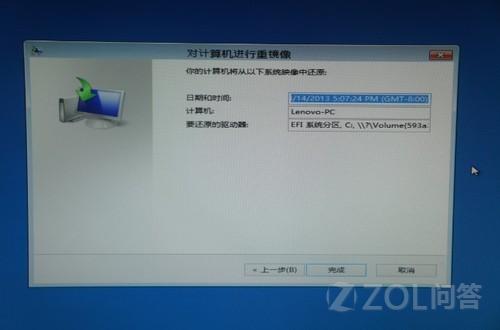
恢复完成后提示重启;
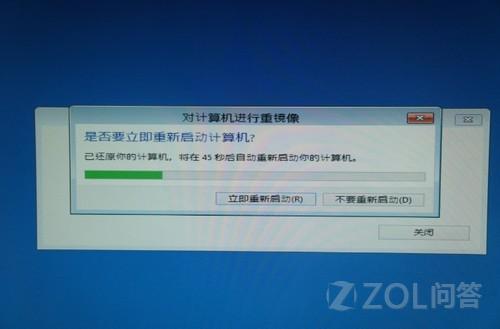
重启后,Windows 8系统恢复完成。
上面讲述全部内容就是电脑预装win8 重装win8系统教程了,这个方法其实并不是你们想象的那么复杂,只要你们按照步骤一步步安装下去,就能轻而易举搞定了,如果感兴趣的朋友就可以使用小编的方法尝试动手一下,如果觉得不错,就分享给身边的小伙伴们吧。
预装win8 重装win8,重装win8系统教程
上一篇:dell笔记本系统重装教程
下一篇:一键重装系uefi+gpt解决方法