win7打印机怎么设置打印共享?
- 时间:2015年11月16日 16:10:42 来源:魔法猪系统重装大师官网 人气:4165


随着Windows7的到来,不少用户已经告别xp时代。而选择Windows7系统已成为当前用户的购机首选,XP系统升级到Windows7版本,在打印机共享设置方法上与原来的xp系统有着许多区别。下面小编用图文形式向大家做下说明操作步骤。
第一步:取消禁用guest 用户
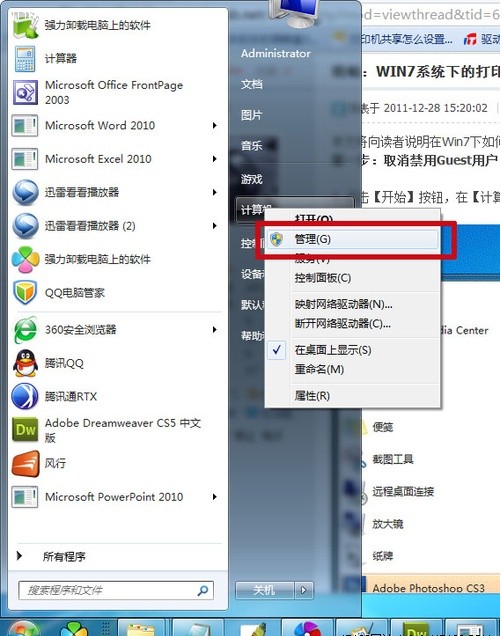
1、点击“开始”按钮,在“计算机”上按右键,选择“管理”,如图一。
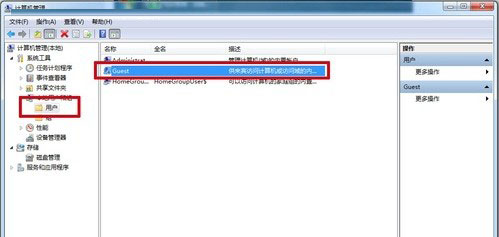
2、在打开的“计算机管理”窗口中找到 guest 用户,如图二。
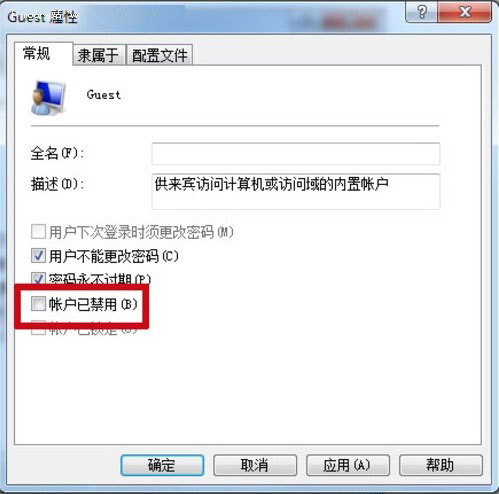
3、双击guest,打开“属性”窗口,确保“账户已禁用”选项没有被勾选,如图三。
第二步:共享目标打印机
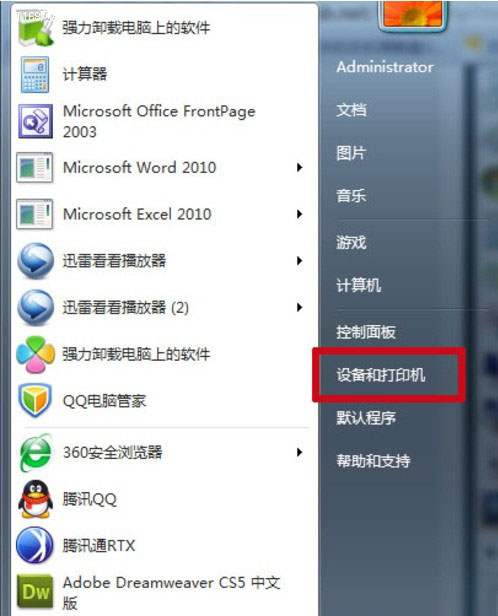
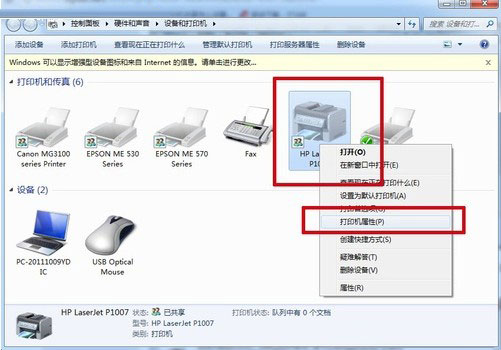
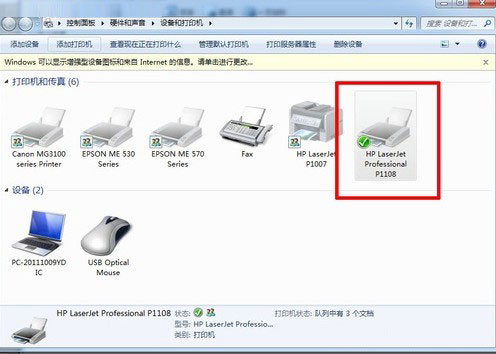
1、点击“开始”按钮,选择“设备和打印机”,如图四。
2、打开设备和打印机后,选择想要共享的打印机,并右键选择“打印机属性”,如图五。
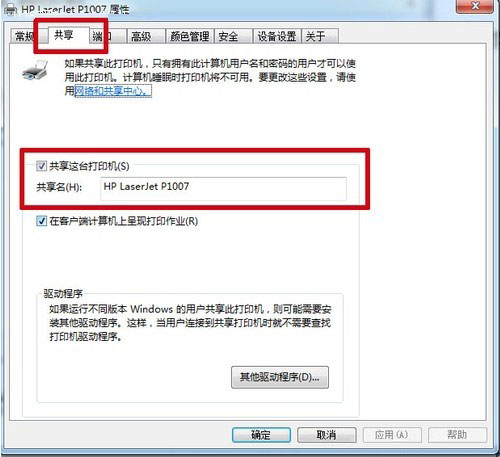
3、打开打印机属性后,选择“共享”选项卡,勾选“共享这台打印机”,并且设置一个共享名,如图六。
; 第三步:计算机共享设置
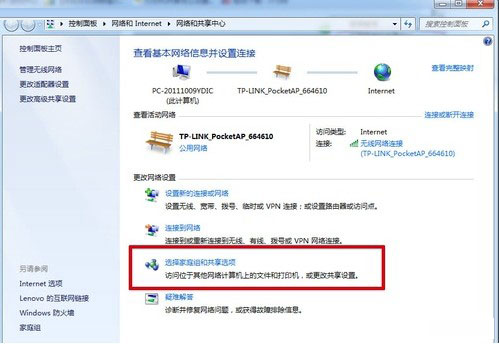
1、在系统栏网络连接图标上右键,选择打开“网络和共享中心”,如图七。

2、在弹出的窗口中点击“选择家庭组和共享选项”,如图八。
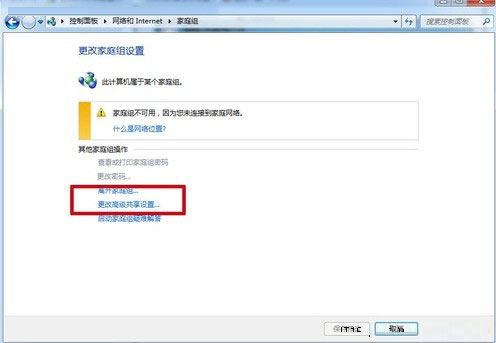
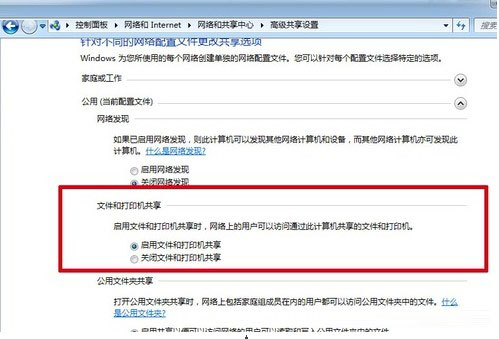
3、单击“更改高级共享设置”,如图九。
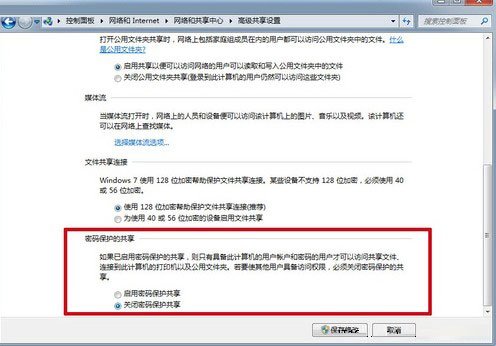
4、在家庭或工作网络状态下,更改高级共享设置的具体设置我们已经用红边加重,修改完成后千万不要忘记保存。如图十、十一。
第四步:设置工作组
1、点击“开始”,在计算机上点“右键”,选择“属性”。如图十二
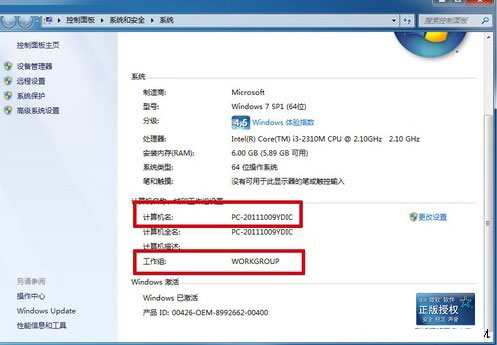
2、在弹出基本信息窗口中找到工作组,并将需要使用共享打印的所有设备,都设置在同一工作组下。
第五步:在局域网内添加共享打印机
1、打开“设备和打印机”,并点击“添加打印机”。如图十三

p; 2、下一步、选择“添加网络、无线或bluetooth打印机”。如图十四、十五

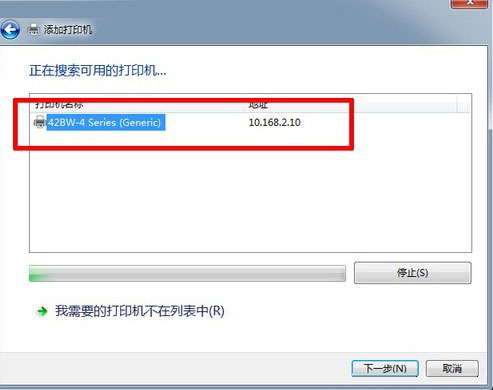
3、如果计算机处于相同共组下,配置正确下,很快就可以搜索到打印机。然后我们就能看到添加成功的打印机。如图十六
小编今天为大家分享Windows7打印机如何设置共享打印的操作步骤,希望能帮助到大家。更多精彩尽在魔法猪系统重装大师。
win7,设置打印共享