Photoshop照片转手绘头发的画法
- 时间:2015年04月02日 11:06:30 来源:魔法猪系统重装大师官网 人气:15481


很多朋友们都喜欢将自已的照片转为手绘图,但是很多细节方面却把握的不是很好,比如说头发,下面小编就来教大家Photoshop照片转手绘头发的画法。


Photoshop,照片,转,手绘,头发,的,画法,很多,
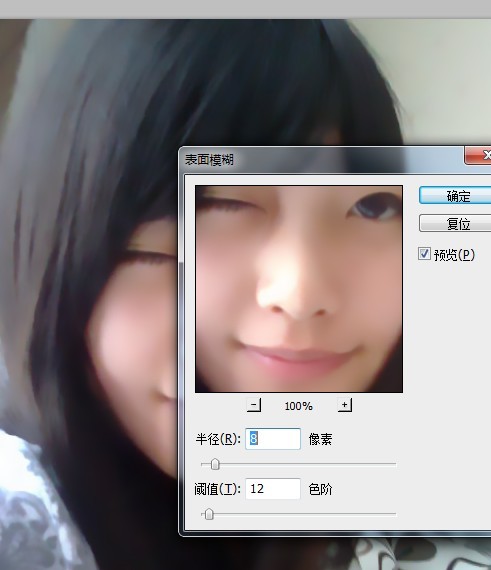
打开原图。复制一层。执行滤镜:表面模糊。数值自定
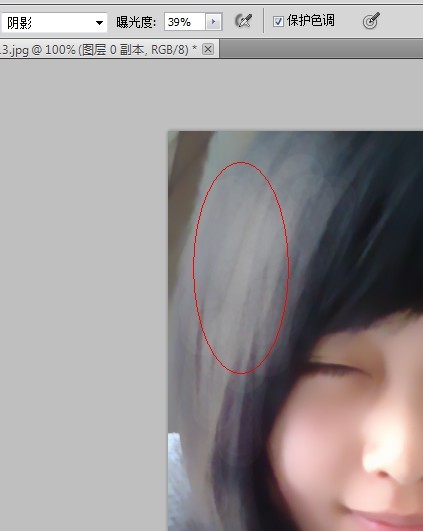
使用工具减淡。范围阴影。曝光度自定,在红圈这个位置进行减淡,做出高光效果
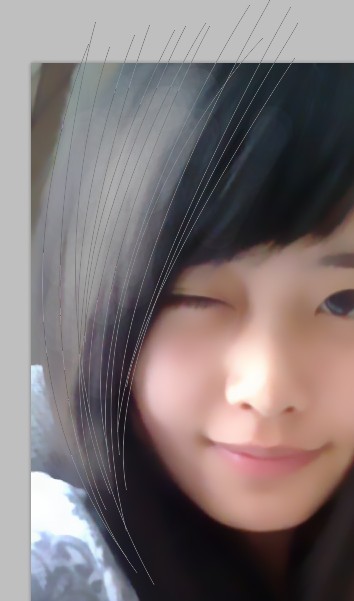
之后就是最枯燥最蛋疼最扯淡的一步。肛笔勾路径,还不会肛笔的童鞋要多到精品区进修了
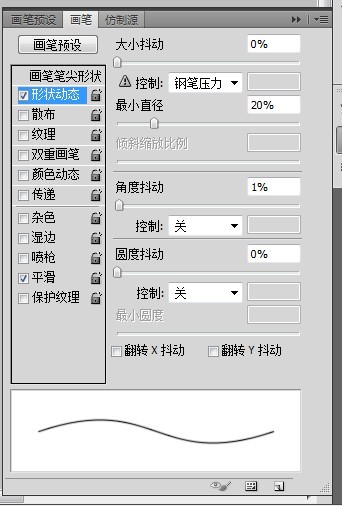
点击画笔,按下你的钛合金F5。出现画笔预设面板。一般是2像素的画笔。50左右的硬度,看起来不会太硬。其他如图所示
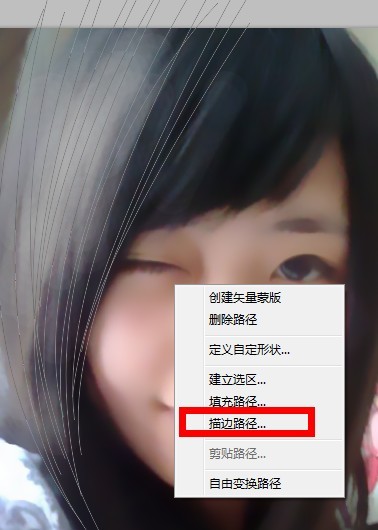
点击肛笔工具。右键。描边路径。话说很多孩子还问我描边路径在哪里 这下看清楚
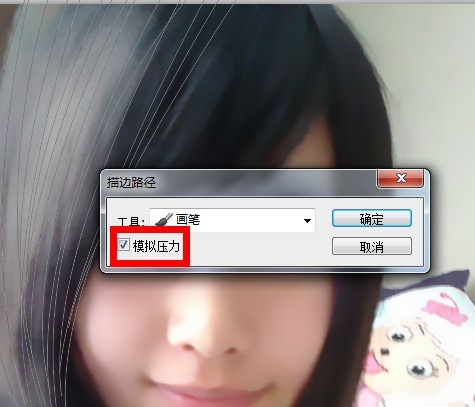
记住要勾模拟压力。不然还是钢丝
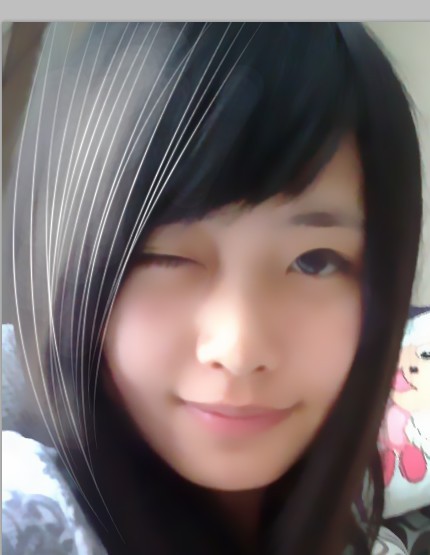
颜色自选。最好多画几层。颜色由浅到深。记得要新建图层。这是个好习惯
最终效果